Semantic Model Parameters Explained
The BI for Defender dataset contains some parameters that must be configured to synchronize data from Defender for Endpoint to Power BI. Other parameters add additional functionality to BI for Defender. This article explains each of the parameters in detail.
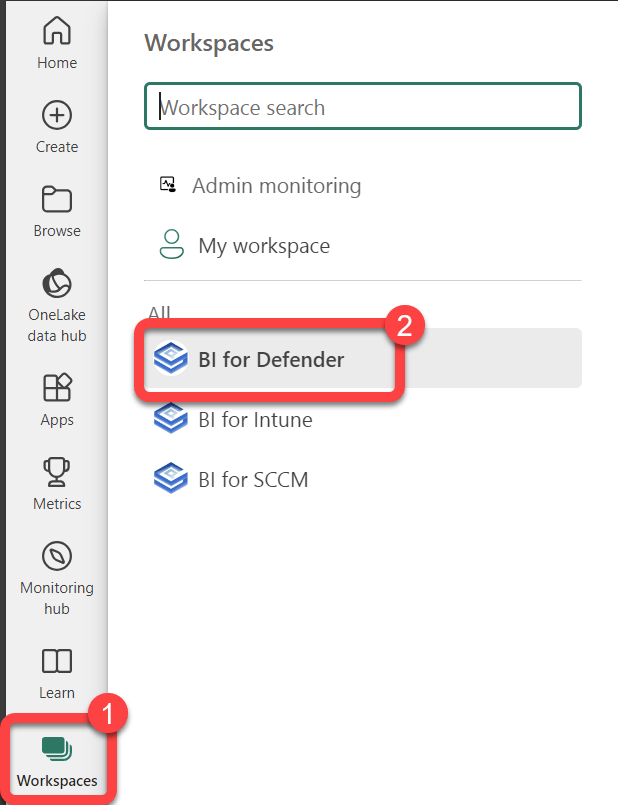
Step 1: Open the Defender Workspace
- To view or modify the dataset parameters select Workspaces.
- Select the BI for Defender workspace.
Step 2: Open the Dataset Settings
- Hover over the bi_for_defender Semantic model to reveal a kebab menu (three vertical dots).
- Select the kebab menu.
- Select Settings.

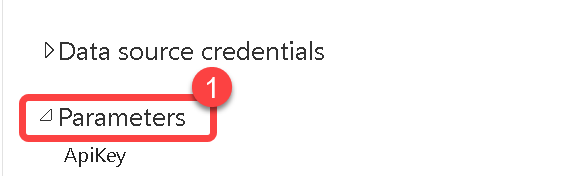
Step 3: Expand the Parameters Section
- Expand Parameters.
Step 4: Configure the ApiKey
ApiKey
- Required configuration: Yes
- Default value: Blank
- This should be the API Key that you received from us after completing the Request a Trial Key form.

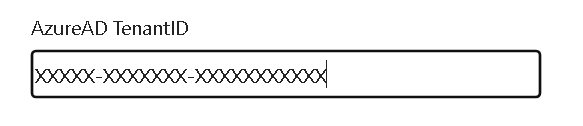
Step 5: Configure AzureAD TenantID
AzureAD TenantID
- Required configuration: Yes
- Default value: Blank
- This should be your Azure AD tenant ID.
- Note: An easy way to get this is to go to https://www.whatismytenantid.com/
Step 6: Configure AzureAD ClientID
AzureAD ClientID
- Required configuration: Yes
- Default value: Blank
- The Application (client) ID from the Entra App Registration.

Step 7: Configure AzureAD ClientSecret
AzureAD ClientSecret
- Required configuration: Yes
- Default value: Blank
- The Azure AD Client Secret is the most common mistake that customers make when installing BI for Defender. It is shown as the "Value" when adding the client secret to the Azure AD App Registration. The Client Secret does not have dashes (-) in it. The Client Secret looks similar to this:
aBcDE~fGh.I.JKlmnopqRsTuVwXyZ1234567890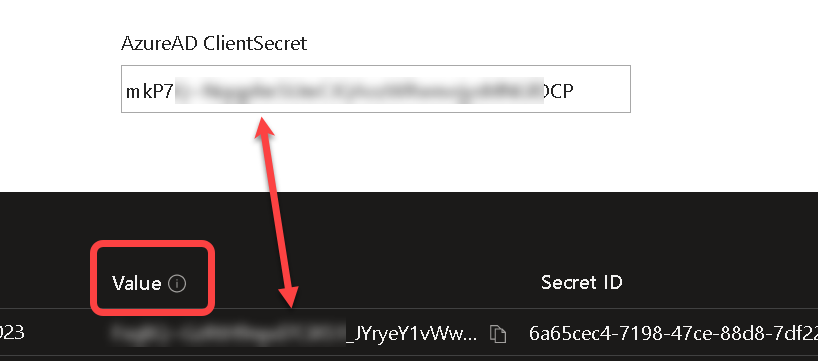
Step 8: Configure AzureAD Pace API
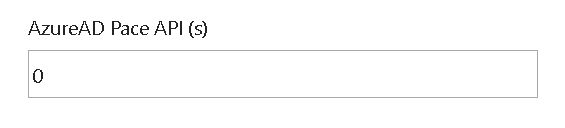
AzureAD Pace API (s)
- Required configuration: None
- Default value: 0
- Determines the amount of time the sync process waits for a response from the Pace API's and then it loops until a response is received. Do not change this value unless instructed to do so by PowerStacks support.
Step 9: Configure Application Control Days
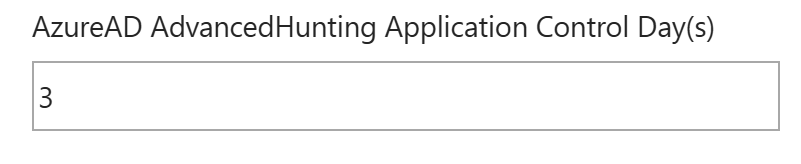
AzureAD AdvancedHunting Application Control Day(s)
- Required configuration: None
- Default value: 3 days
- Max value: 30
- -1 disables this feature.
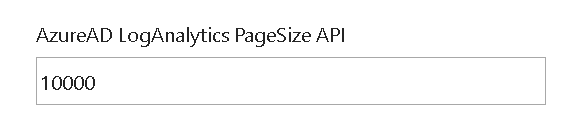
Step 10: Configure AdvancedHunting PageSize
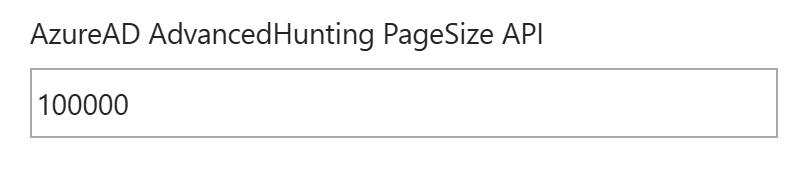
AzureAD AdvancedHunting PageSize API
- Required configuration: None
- Default value: 10000
- Determines the page size for MS Graph queries. Do not change this value unless instructed to do so by PowerStacks support.
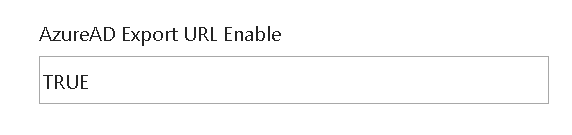
Step 11: Configure Export URL Enable
AzureAD Export URL Enable
- Required configuration: Yes, only if the AzureAD Export URL has been populated.
- Default value: FALSE
- Determines if the URL from the AzureAD Export URL is used or if the URL is found automatically by the app.
- Setting this parameter to TRUE will create a new data source credential that must be configured. Authentication method: Anonymous
- Privacy Level: Organizational
- Select Skip test connection
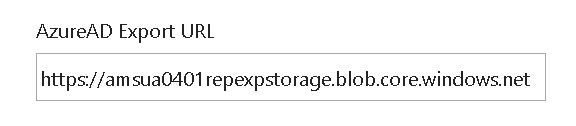
Step 12: Configure the Export URL
AzureAD Export URL
- Required configuration: None
- Default value: Blank
- The export URL varies from one Azure tenant to another. If this value is not populated our code will find the correct URL that your Intune environment uses to export data, however, to avoid redirection and improve security it is recommended to set this parameter.
- Be sure to also set AzureAD Export URL Enable = TRUE when using this parameter.
- To learn more please see our Configure Defender Export API documentation.
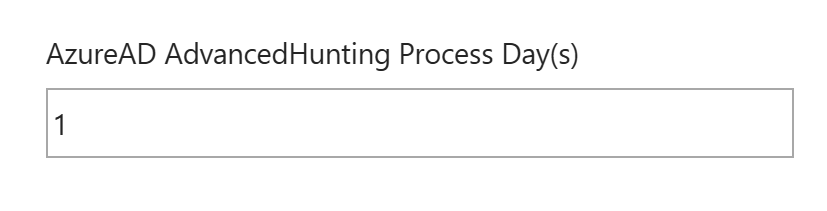
Step 13: Configure AdvancedHunting Process Days
AzureAD AdvancedHunting Process Day(s)
- Required configuration: None
- Default value: 1 days
- Max value: 30
- -1 disables this feature.
- Allows you to configure the number of days of process data to pull from Advanced Hunting.
Step 14: Configure AzureAD PageSize API
AzureAD PageSize API
- Required configuration: None
- Default value: 10000
- Determines the page size of queries. Do not change this value unless instructed to do so by PowerStacks support.
Step 15: Configure AzureAD Proxy Enable
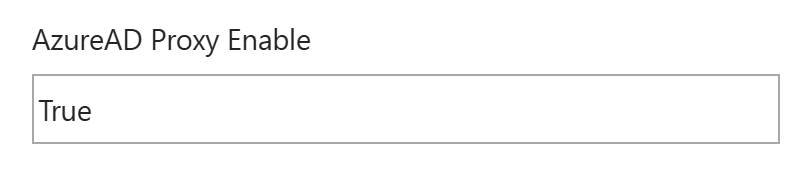
AzureAD Proxy Enable
- Required configuration: Yes
- Default value: True
- Should ALWAYS be False unless you are viewing the reports with the demo data.
Step 16: Configure AdvancedHunting Days
AzureAD AdvancedHunting Day(s)
- Required configuration: None
- Default value: 30
- Allows you to configure the number of days of data to pull from Advanced Hunting.
Step 17: Configure Export URL Wait Time
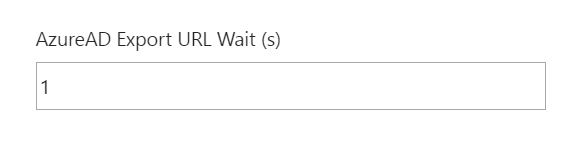
AzureAD Export URL Wait (s)
- Required configuration: None
- Default value: 1
- Determines the amount of time the sync process waits for each Intune export job to report a status and then loops until a status is received. Do not change this value unless instructed to do so by PowerStacks support.
Step 18: Configure Export URL Timeout
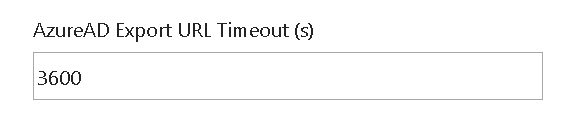
AzureAD Export URL Timeout (s)
- Required configuration: None
- Default value: 3600
- Determines the amount of time the sync process waits for each Intune export job before it times out. Do not change this value unless instructed to do so by PowerStacks support.
Step 19: Configure AzureAD Login URL
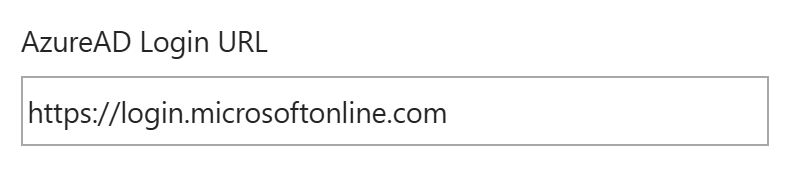
AzureAD Login URL
- Required configuration: None
- Default value: https://login.microsoftonline.com
- This parameter is only used in edge cases where customers have some things in GCC or HCC High and other things in the commercial cloud.
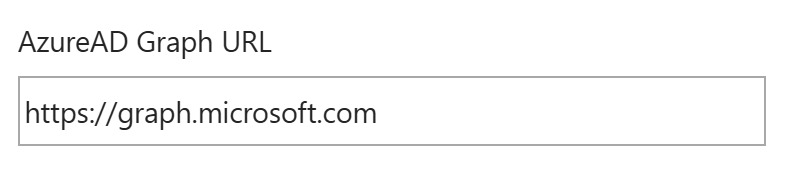
Step 20: Configure AzureAD Graph URL
AzureAD Graph URL
- Required configuration: None
- Default value: https:/graph.microsoft.com
- This parameter is only used in edge cases where customers have some things in GCC or HCC High and other things in the commercial cloud.
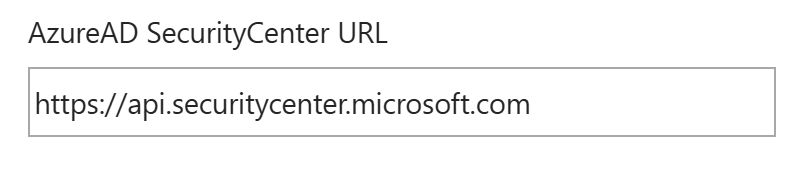
Step 21: Configure SecurityCenter URL
AzureAD SecurityCenter URL
- Required configuration: None
- Default value: https://api.securitycenter.microsoft.com
- This parameter is only used in edge cases where customers have some things in GCC or HCC High and other things in the commercial cloud.
1.
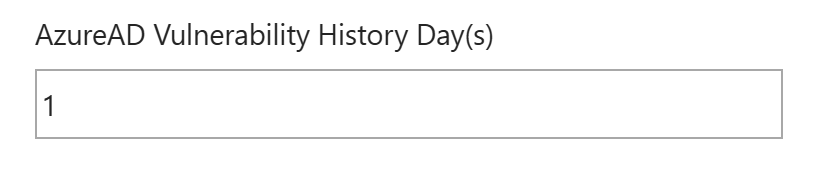
Step 22: Configure Vulnerability History Days
AzureAD Vulnerability History Day(s)
- Required configuration: None
- Default value: 1
- By default, only vulnerability data from the last 1 day are available in the reports. Getting more days of vulnerability data will result in slower synchronizations and possibly cause synchronization timeouts. The max value is 30.
- Note, vulnerability data can be completely disabled by setting this value to -1.
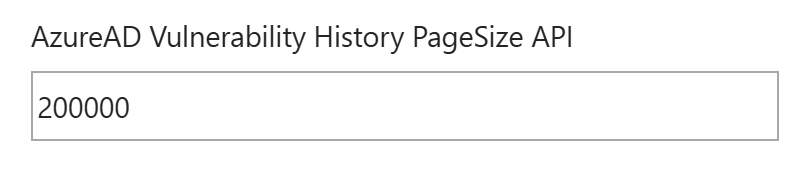
Step 23: Configure Vulnerability History PageSize
AzureAD Vulnerability History PageSize API
- Required configuration: None
- Default value: 200000
- Do not change this value unless instructed to do so by PowerStacks support.