Install BI for Defender
Installing BI for Defender is quite simple. BI for Defender requires no on-premises infrastructure, the app installs from the Microsoft Marketplace directly into your Power BI tenant. Once installed you can try the application using the supplied sample data or you can choose to request a fully functional 30-day trial license.
Prerequisites:
- The user performing this step requires a Power BI Pro license, Power BI Premium Per User license, or the Power BI tenant must be licensed for Power BI Premium. Microsoft offers a free Power BI Pro trial license via self-service sign-up for those who want to try BI for Defender before purchasing Microsoft licenses.
- Permissions to create an App Registration in Azure AD are required to configure the trial.
To get started select the Install Now button to be directed to the Microsoft Marketplace. Install Now
Step 1: Get the App from the Microsoft Marketplace
- Select the Install Now button above.
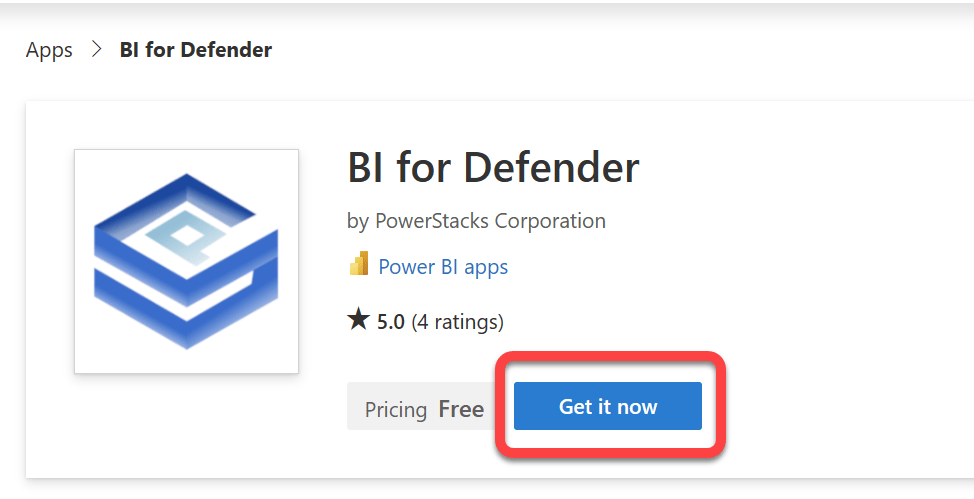
- On the BI for Defender page in the Microsoft Marketplace select Get it now.
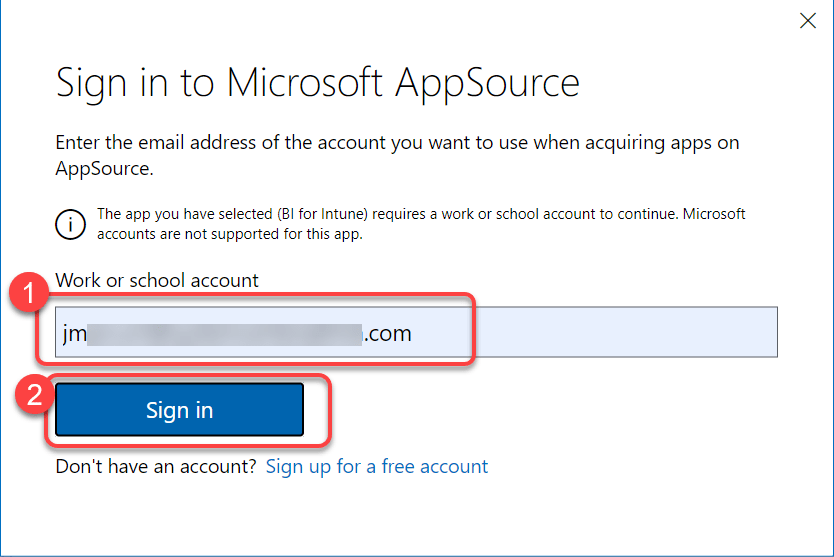
Step 2: Sign In with Your Work Email
- Enter your work email address and select Sign in.
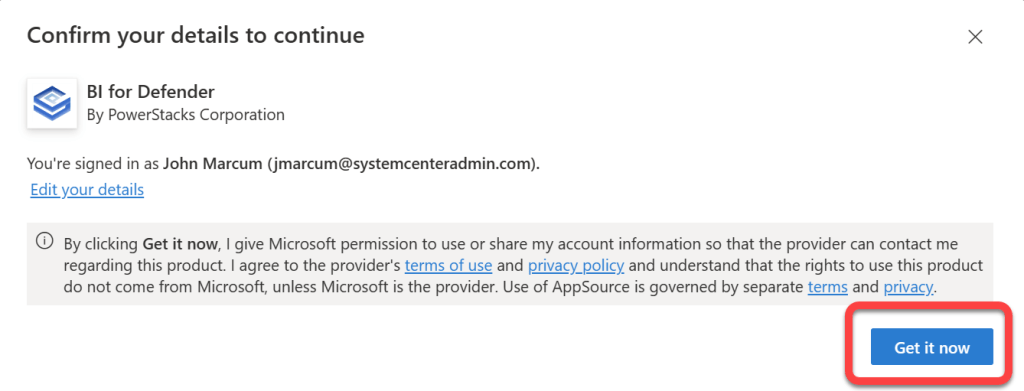
Step 3: Confirm the Installation
- Select Install.
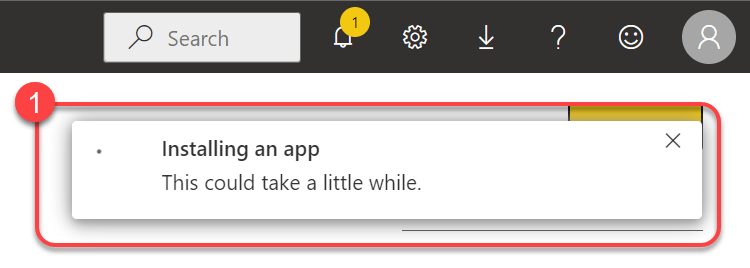
Step 4: Wait for Installation to Complete
- You will see a notification that BI for Defender is installing. Once this has disappeared you have successfully installed BI for Defender. You may now view the app using the sample data provided or you can connect your data by requesting a trial license key.
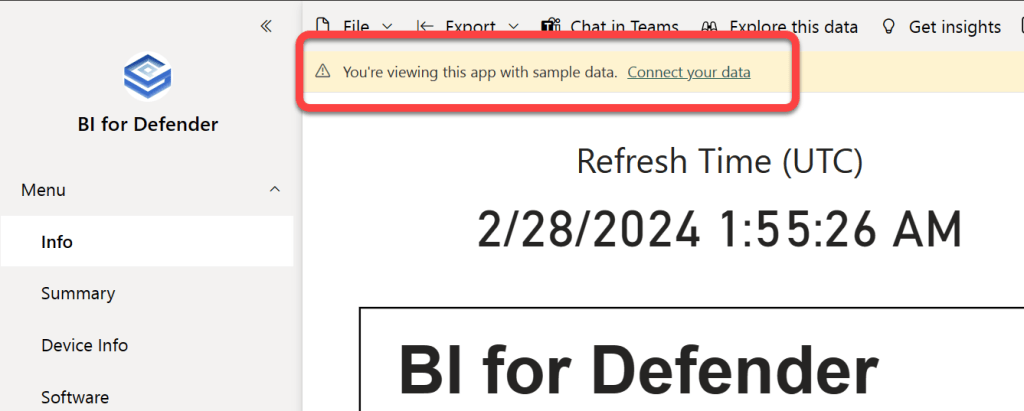
Step 5: View the App with Sample Data
- Upon opening the BI for Defender workspace you may notice a banner that says, "You're viewing this app with sample data. Connect your data." This can be safely ignored. If you'd like to try BI for Defender before connecting your data it installs with sample data. If you prefer to go ahead and see your own data proceed to the next step in our documentation.